
STEERING TIPS FROM ZF AFTERMARKET
Suspension and steering parts must be checked regularly, as they play a decisive role in the safe handling of a car
The experts at ZF Aftermarket have shared some useful tips when it comes to inspecting, diagnosing and replacing common steering and suspension components.
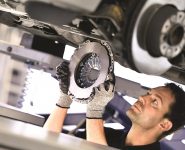
Strut Mounts
The top fastening of the suspension strut is attached to the chassis via the strut mount. As the strut mount must have both a damping force and a rotatable mounting for unhindered steering resetting, there are strict requirements for its function and wear resistance.
A worn or defective strut mount can be recognised by various symptoms, including squeaking during spring movements of the chassis; poor cornering; crackling noises during steering wheel movements; restricted resetting of the steering after cornering; and knocking sounds when driving over uneven surfaces.
If the suspension strut mount has been checked and a defect has been detected, ZF Aftermarket recommends that it should be replaced as follows:
- Remove the wheels.
- Remove the suspension strut and clamp it in an appropriate fixture.
- Compress the suspension spring using a spring tensioner until it is released from the seat of the suspension strut mount
- Remove the nut on the damper connecting rod.
- Position the new strut mount in its installation position. In doing so, check that the lower part of the mount is seated correctly on the suspension spring.
- Fit the bolts and fastening components and tighten the lock nuts to the torque specified by the vehicle manufacturer.
- Carefully release the spring tensioner. In the process, continue to check that the suspension spring is placed on the strut mount and on the suspension strut plate correctly.
- Refit the suspension strut in the vehicle.
- Refit the wheels and perform a full wheel alignment. Finally carry out a test drive.
TIP: Like other chassis components, suspension strut mounts should always be replaced in pairs.
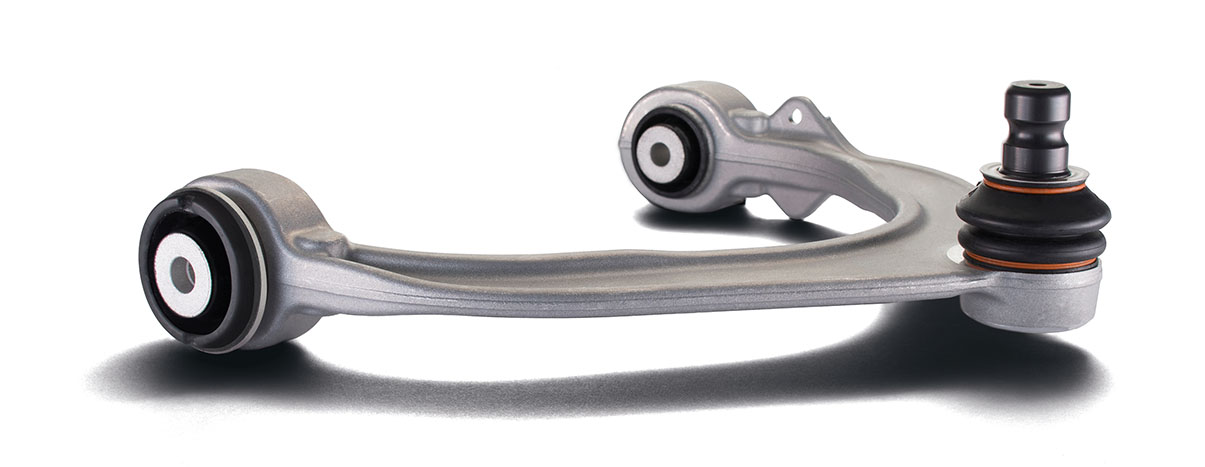
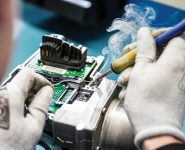
Control Arms
Control arms are installed as pairs on the front and rear axle, connecting the chassis to the wheels. A defective control arm can manifest in the following ways: noise (squeaking, creaking, rumbling); deteriorating driveability; increasingly woolly and imprecise steering; and uneven tyre wear.
The exact steps are set by the relevant vehicle manufacturer, with the below steps from ZF Aftermarket a guide for workshops to follow:
- Lift the vehicle using a car lift, which makes it easier to correctly tighten the control arm fixing screws.
TIP: Depending on the axle design, the control arm may need to be secured against falling with a suitable device, for example, a transmission lifter. - Treat the fixing screws and nuts of the control arm with rust solvent for a few minutes to loosen the components.
- On vehicles with automotive headlight levelling, it may be necessary to detach the levelling sensor from the control arm.
- If the stabiliser is connected to the control arm, loosen and remove the corresponding stabiliser fixing screws.
- Loosen and remove the control arm fixing screws.
- Loosen the ball joint at the steering knuckle with a suitable tool, such as a puller.
- Remove the old control arm.
- Clean the mounting flange of the ball joint on the steering knuckle with sandpaper and then brake cleaner. This is to prevent single rust particles entering the new control arm joint via the ball pin, potentially leading to premature failure of the joint.
- Fit the new control arm with the supplied accessories and attach new fixing screws and nuts.
- Reattach the stabiliser and, if applicable, the levelling senor for the headlight levelling to the control arm.
- Lower the vehicle until the suspension is compressed.
- Tighten the fixing screws with the torque specified by the vehicle manufacturer.
- Lower the vehicle entirely.
- Measure the chassis and adjust if necessary.
- Check and, if necessary, adjust the headlight settings on vehicles with automotive headlight levelling where the levelling sensor is attached to the control arm.
- To conclude, test-drive the vehicle.
TIP: If the control arm is in working order, it is possible to only replace the defective bearings and joints; however, replacing bearings, bushings and ball joints can be complex and costly. Replacing the entire arm is generally safer and often less expensive.
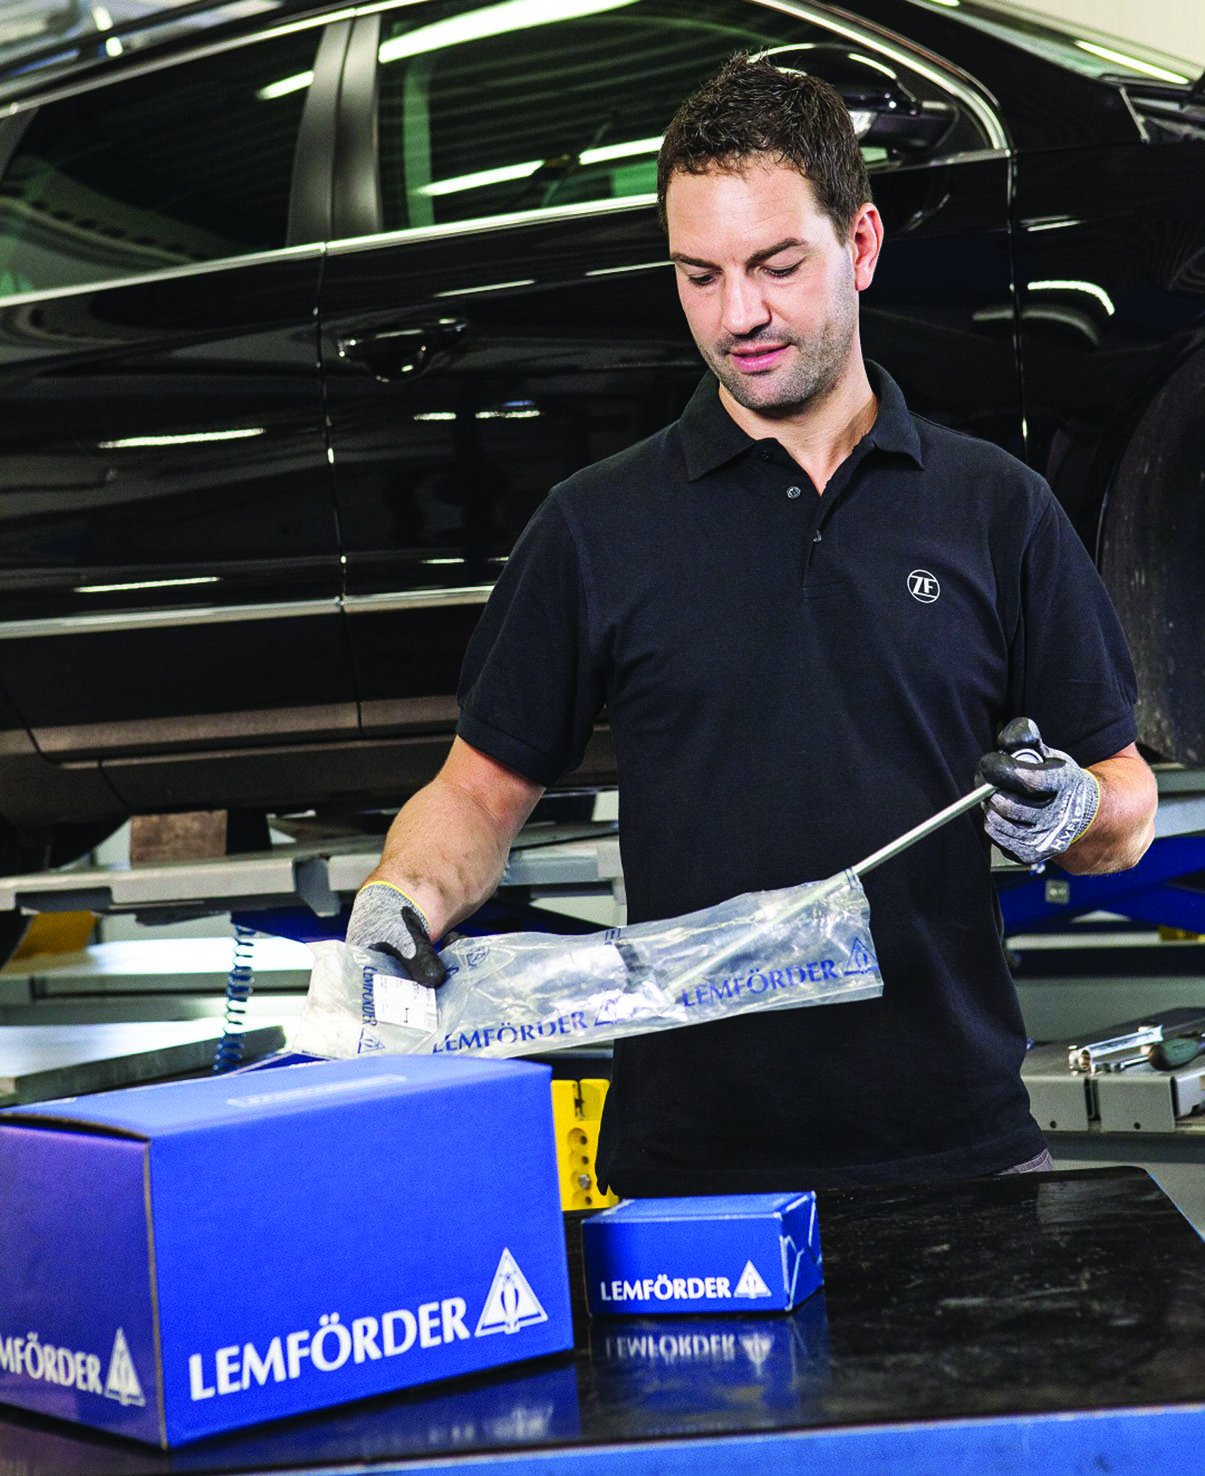
Replacement Parts from ZF Aftermarket
ZF says its Lemförder brand is one of the world’s leading brands in suspension and steering technology in the automotive sector.
Part of ZF’s global portfolio of premium brands, Lemförder products are fitted as original equipment and available to the aftermarket for passenger cars, light trucks and larger commercial vehicles.
Passenger car steering and chassis parts from Lemförder include stabiliser mounts and links, rubber-to-metal components like axle bearings and suspension and strut mounts, control arms and bearings, tie rods and suspension joints.
Also available from ZF in Oceania are OEM-quality Sachs shock absorbers and TRW steering and suspension components.
For additional information, visit www.aftermarket.zf.com